
COBRASHIELD Windshield Protection Film – Installation Instructions
Why COBRASHIELD Stands Out
COBRASHIELD Windshield Protection Film is engineered for flexibility, simple installation, and hassle-free application—no shrinking required.
Key performance features include:
-
Fast installation
-
Self-healing properties
-
Hydrophobic surface
-
High optical clarity with 99% UV rejection
-
Easy, clean removal without delamination
Preparation Steps
1. Lift the Wipers
Raise the windshield wipers to ensure easier access during installation.
2. Clean the Windshield Thoroughly
Use the correct cleaning tools and chemicals to avoid scratches, streaks, or incomplete cleaning.
3. Pre-Trim the Film
Trim the film to match the windshield size before installation.
COBRASHIELD is available in 60-inch width, allowing full coverage of even large windshields in one seamless piece.
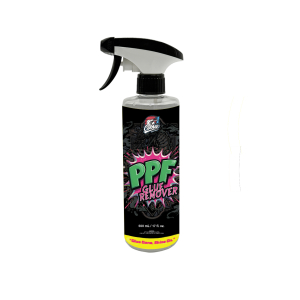
4. Remove Oily Residue
Use a squeegee to clear all contaminants from the glass.
Follow with the oil remover to ensure the windshield is completely clean.
Taping the Windshield
Taping the edges is strongly recommended for two primary reasons:
-
To remove any residue along the edges
-
To protect the vehicle from scratches or accidental damage
This step prevents contamination and ensures a cleaner, safer installation.
Installation Steps
1. Apply Tape for Edge Protection
Tape around the perimeter of the windshield to shield the surrounding surfaces.
2. Cut the Film to Fit
Finalize the shape and size of the film to match the windshield precisely.
3. Clean One More Time
Use a squeegee again to ensure all dust or debris is removed before applying the film.
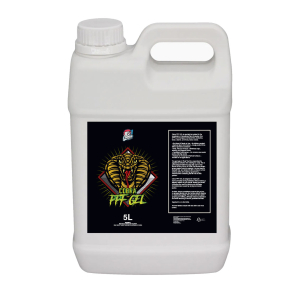
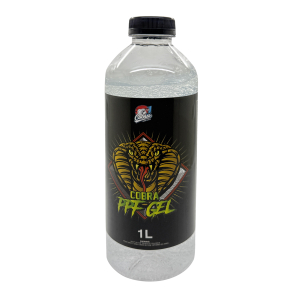
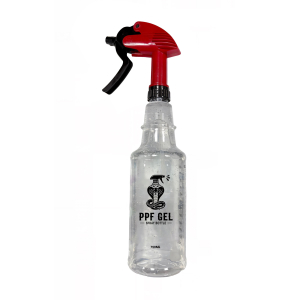
4. Spray Slip Solution
Apply the slip solution generously onto the windshield surface.
5. Remove the Film Liner
Peel off the liner and spray slip solution onto the adhesive side of the film.
6. Position the Film
Place the protection film carefully on the windshield.
Spread the slip solution evenly and lightly smooth the film by hand so it lies flat and correctly aligned.
7. Squeegee the Film
Use firm, even pressure to squeegee out moisture and adhere the film securely to the glass.
Finishing Steps
1. Final Trimming
Trim along the edges to ensure a perfect, clean fit.
2. Final Check
Thanks to the film’s high clarity, transparency, and distortion-free design, the applied film is virtually invisible once installed.